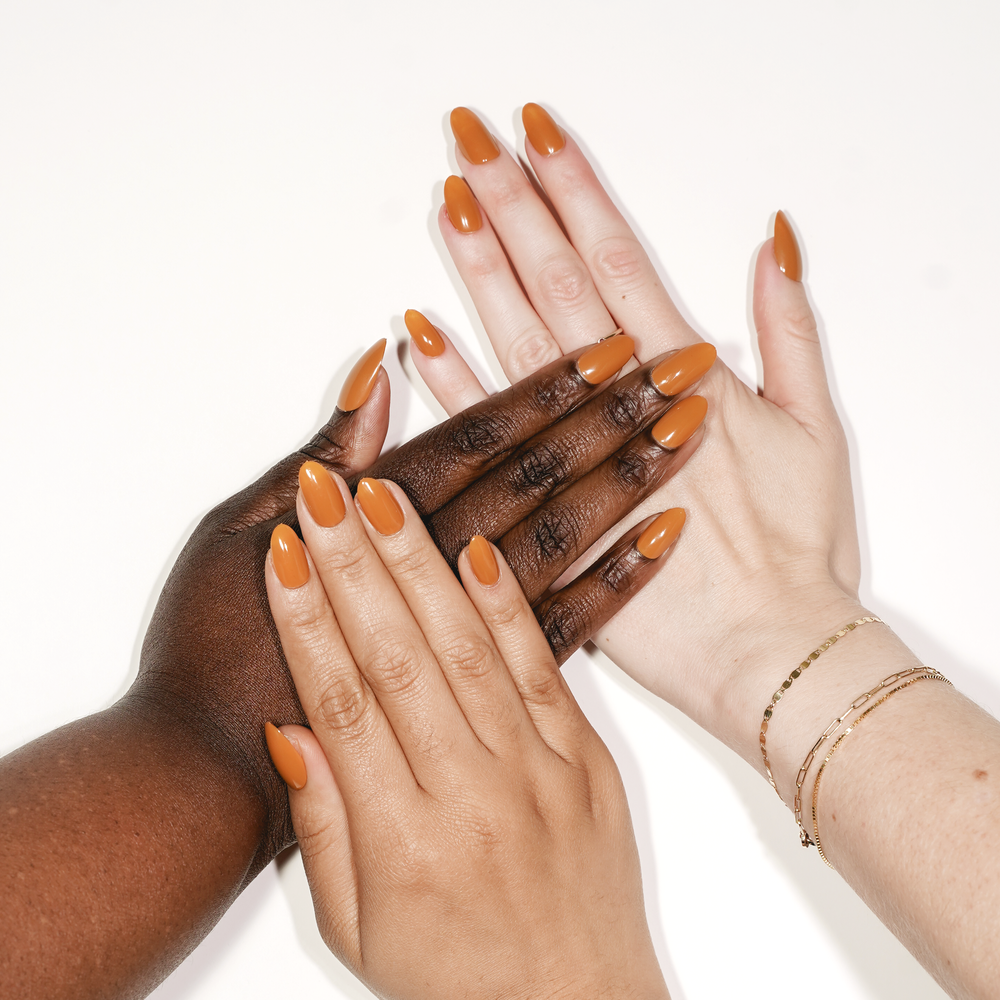
How to apply Japanese Gel? Step by Step Guide to Apply Single Colour Gel.
Hello Lovely Bees, welcome to our first blog! We are going to talk about how to apply Japanese Gel perfectly, and this is going to be a step by step guide. The very important keys to applying gels are the amount of the gel and the angle of your brush! Now let's get started with the steps:
1. Prep your brush and warm up the brush with some base gel. Make sure that the brush is nice and smooth! It can help with a smooth application.

2. Take a good amount of gel
You might ask, what is a good amount of gel? Well, it depends on the size of the nails you are working on. Another important tip is to make sure that you don't have gel accumulated on the other side of your brush.

3. Start applying gel onto the nails
Now you just have to follow the order of the points:- 5 to 8, 4 to 7, 6 to 9, 10- 2 to 8, 1 to 7, 3 to 9 Always remember that the cuticle area needs to have only a thin layer of gel! The closer to the cuticle, the thinner the gel.


(Colour gel: KOKOIST E-216 Smoky Cloud)
4. Builder apex (optional)
Apply a thin layer and take a little gel ball and apply on point 5. Angle your brush and gently pull the gel ball towards point 7, 8 & 9.Tip: gently move the gel only and do not touch the nail plate.

5. Uneven gel surface? (optional)
Check the light reflection of the gel on the nail plate. If you see that the gel is not reflecting the light smoothly, it might mean that you need to fill in on some areas. To fill up the areas: take a little gel ball and drop it onto the uneven spot, drag the gel to even up the spot!


Leave a comment